
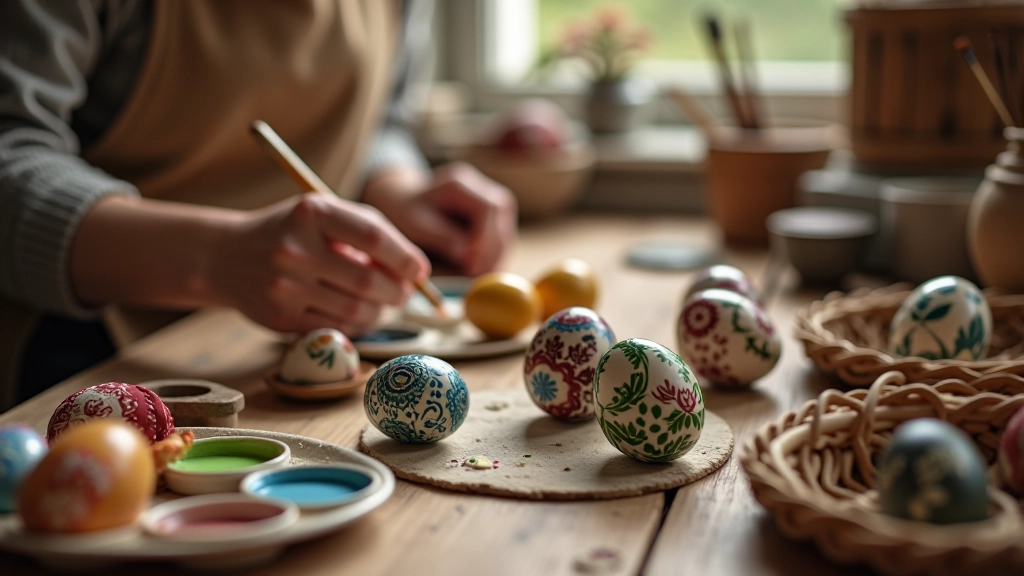
Traditional Easter Egg Painting Techniques
Master the art of hand-painting Easter eggs using traditional Kutná Hora methods and authentic folk designs.
Create a beautiful, welcoming wreath for your door this spring. We'll walk you through every step, from selecting your base to the final decorative touches.
An Easter wreath isn't complicated — it's just a base, some greenery, and decorative elements arranged thoughtfully. Whether you're crafting your first one or you've made wreaths before, this guide covers everything you need to know to create something you'll be proud to display.
The best part? Most wreaths come together in 2-3 hours, and the materials are things you can find at craft stores or even your garden. We'll show you exactly what to look for and how to put it all together so it looks polished and seasonal.
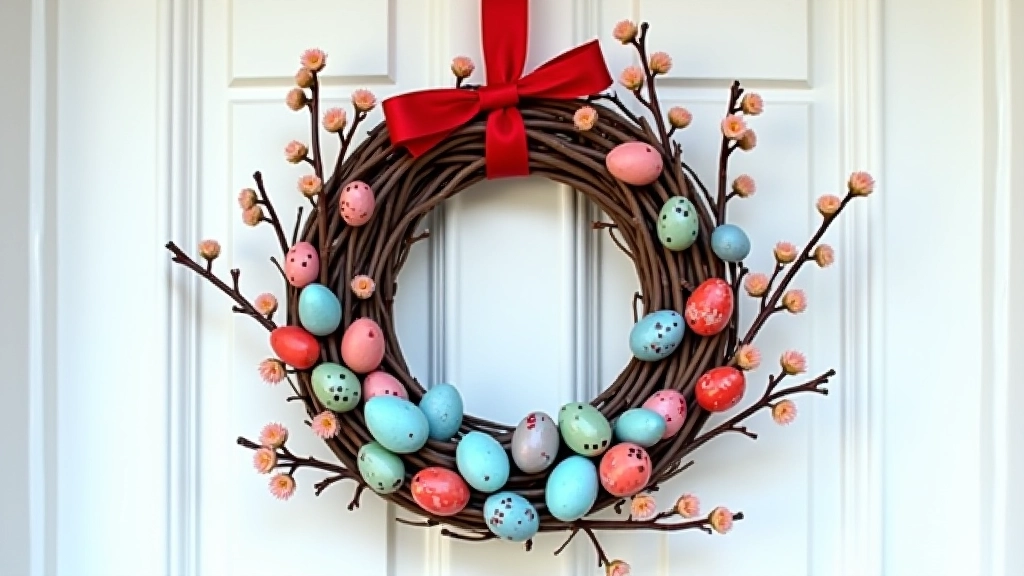
The base is everything. It's what holds your wreath together and sets the foundation for everything else you'll add. You've got a few solid options here.
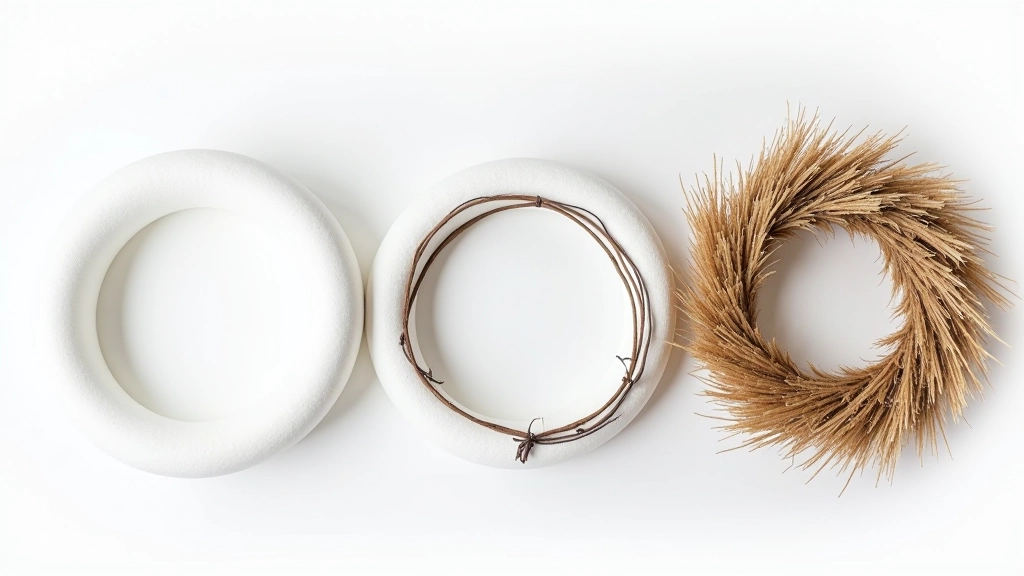
This is the easiest option if you're just starting out. A foam wreath base (usually 12-16 inches) is lightweight, affordable (around €8-15), and you can stick stems right into it. It's forgiving if you change your mind about placement. Most craft stores carry them in spring, and they come in different shapes — circles, hearts, and ovals.
Wire frames are more traditional and work beautifully if you're wrapping them with moss or floral tape first. They're a bit trickier because you need to secure everything with wire or floral picks, but they're reusable and look more natural once finished. This method takes a bit longer — plan for 3-4 hours.
If you want that rustic, organic look, a straw wreath base has real charm. You'll see these at Easter markets in Kutná Hora and similar regions. They're durable, textured, and they photograph beautifully. The trade-off is they're slightly messier to work with — straw gets everywhere.

Don't overthink this. You don't need every item on the planet — just the essentials and maybe one or two special touches that speak to you.
Here's where the magic happens. Take your time with these steps — rushing never makes anything better.
If you're using a foam base, soak it lightly with water (not soaking wet, just moist). If you're using a wire frame, wrap it loosely with floral tape or soak moss and secure it to create a foundation. This step takes about 10 minutes but makes everything else easier.
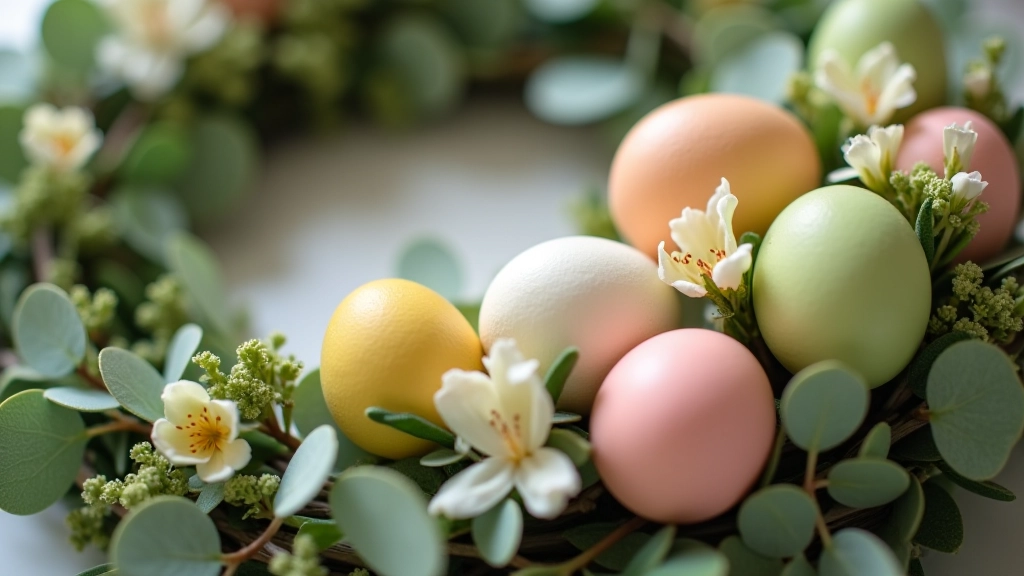
Cut your greenery into 4-6 inch pieces and start inserting or securing them to cover the base. Work in one direction around the wreath, layering as you go. You want to see no base peeking through. This is your canvas, so make it lush.
Now for the focal points. Arrange your painted eggs around the wreath — don't cluster them all in one spot. A good rule is to space them evenly, creating visual balance. Secure each egg with a floral pick or by nestling it into the greenery.
This is where your wreath gets personality. Tuck in flowers, add small decorative touches, position any birds or butterflies. Step back frequently and look at the whole thing. If one area feels heavy, balance it with something on the opposite side.
Cut about 3-4 feet of ribbon and secure it to the back of your wreath using floral wire or hot glue. Make a loop for hanging at the top, and let the rest drape for visual interest. Tie a bow if you want — or keep it simple and elegant.
Place your wreath on a flat surface or hang it up and look at it from different angles. Adjust anything that feels off-balance. Tuck in any greenery that's sticking out awkwardly. Sometimes a single element moved an inch makes all the difference.
A few small things make a real difference in how long your wreath stays fresh and beautiful.
If you're using fresh flowers or greenery, mist your wreath lightly every couple of days. Don't soak it — just a light spray keeps things from drying out too quickly. Fresh wreaths typically last 2-3 weeks indoors, longer if you keep them in a cool spot away from direct sun.
Stick to 3-4 main colors maximum. Too many colors compete for attention. Soft pastels (cream, pale green, light blue) create a gentle, elegant look. Bold, saturated colors (deep purple, rich gold, bright orange) feel more playful and modern. Mix and match based on your space and personal style.
Vary your textures — smooth painted eggs, feathery greenery, delicate flowers, maybe a rough-textured ribbon. This layering makes your wreath visually interesting from up close and from a distance.
Please Note: This guide is informational and educational. If you're working with fresh flowers or foliage, be aware that some materials may cause allergic reactions or skin sensitivity. Always wash your hands after handling botanical materials. For households with young children or pets, ensure all decorative elements (small eggs, picks, wire) are securely fastened and out of reach. When using hot glue or other adhesives, follow product safety instructions and work in a well-ventilated area.
Building your first Easter wreath doesn't require special skills or expensive materials. What it does need is a little patience and an eye for balance. Start with the basics — a good base, plenty of greenery, and a few beautiful focal points — and you'll end up with something that brings real joy to your home.
The great thing about wreaths is they're forgiving. If you don't like where something is, you can move it. If you think it needs more texture, add more. There's no "wrong" way to do this — just your way.
Hang your finished wreath where you'll see it every day, and take a moment to appreciate what you made. That's the real reward here.
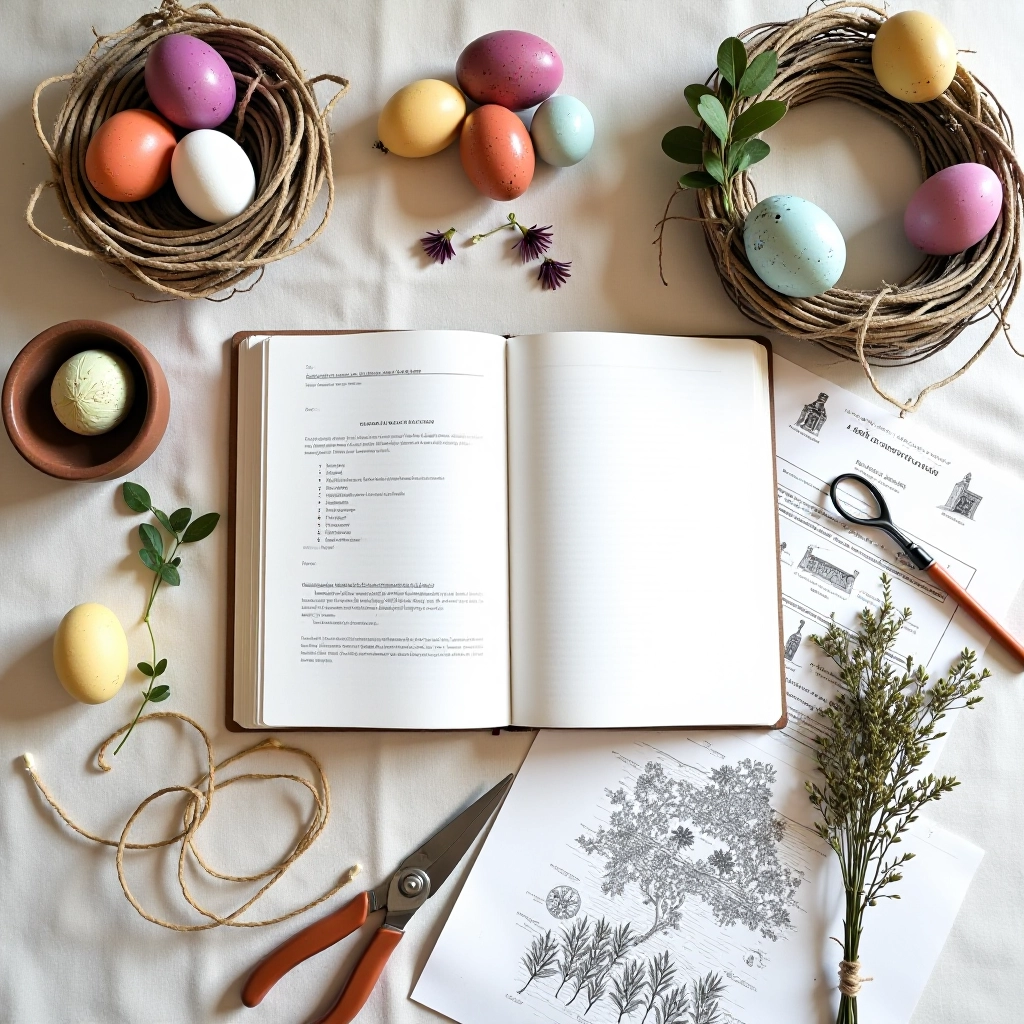
Editorial Team
Written by the galvvale editorial team, focused on practical wreath crafting guidance and Kutná Hora heritage techniques.
Explore these related articles to expand your wreath-making skills and discover new decorating ideas.
Master the art of hand-painting Easter eggs using traditional Kutná Hora methods and authentic folk designs.
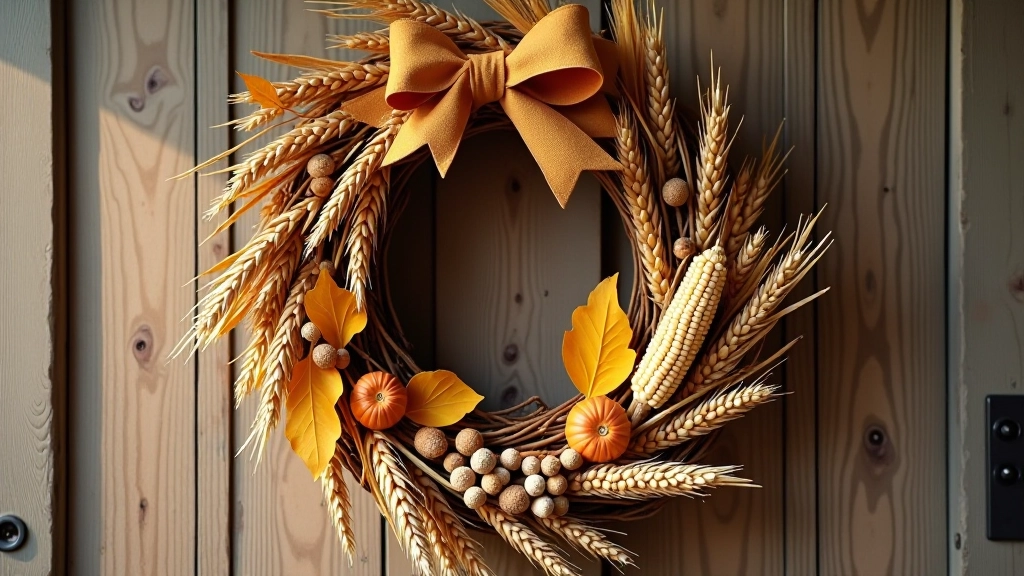
Create a stunning autumn wreath using natural materials like dried grains, leaves, and seasonal elements.
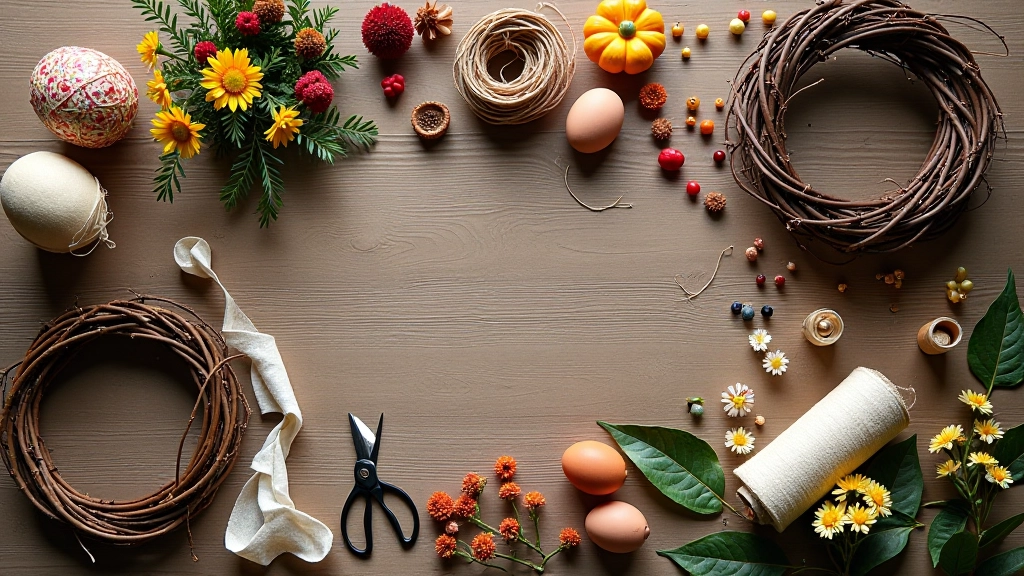
A complete resource guide to the materials and tools you'll need. Learn what's essential and what's optional.