

Traditional Easter Egg Painting Techniques
Master the art of hand-painting Easter eggs using traditional Kutná Hora methods. Learn authentic patterns, natural dyes, and techniques passed down through generations.
Create a stunning autumn wreath using natural materials like dried grains, leaves, and seasonal foliage. We'll show you where to source materials and how to arrange them beautifully.
There's something special about welcoming autumn at your front door. A harvest wreath isn't just decoration — it's a way to bring the season's warmth and texture into your home. We've crafted wreaths for over a decade, and we're excited to share what we've learned about selecting materials, arranging them thoughtfully, and creating something that'll last through November.
You don't need fancy tools or expensive supplies. A basic wreath frame, some natural materials gathered from local fields or purchased affordably, and about 2-3 hours of focused work. That's genuinely all it takes. By the end of this guide, you'll know exactly where to find materials, how to prepare them, and the step-by-step process for building a wreath that looks professionally done.
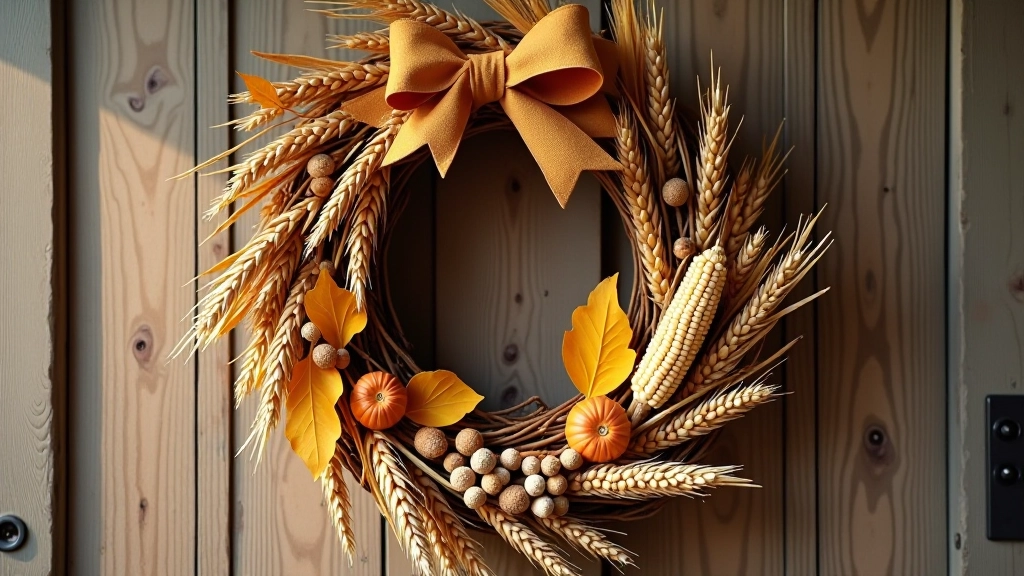
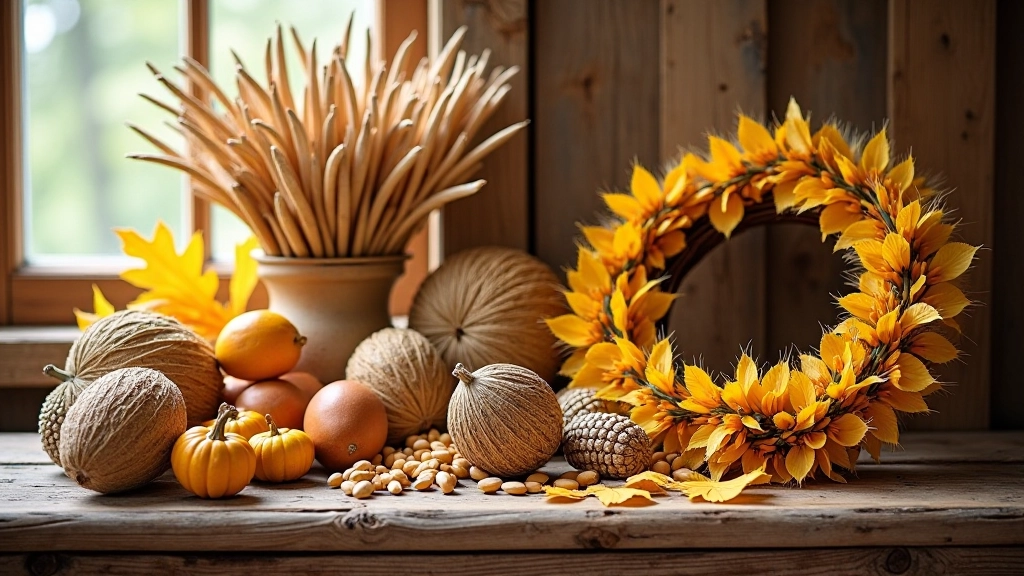
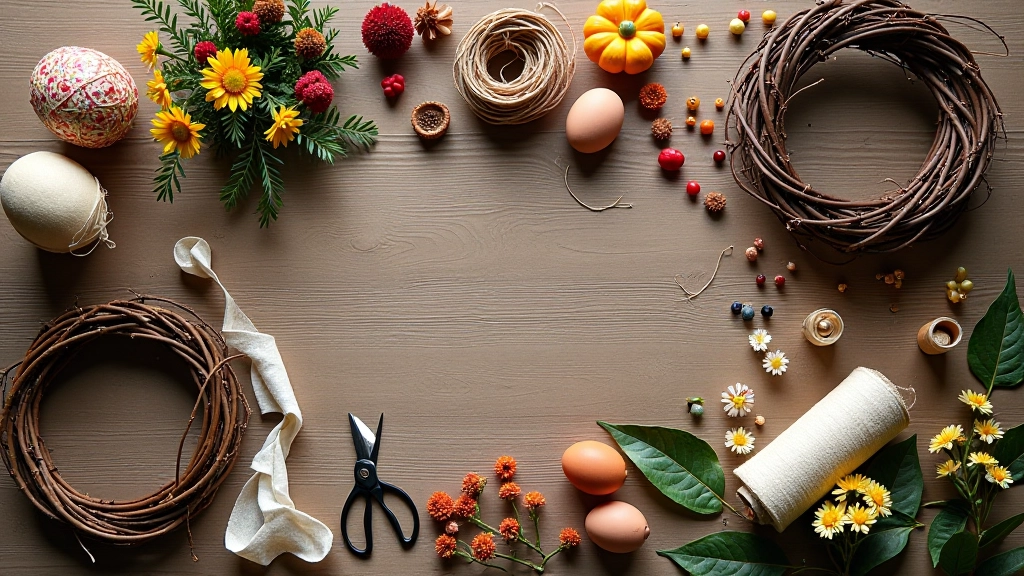
The best materials come from nature itself. In August and September, take walks through fields or along roadsides to spot dried grasses, wheat, and wild seed pods. You're looking for things that're already dry or drying — that's your green light. Don't worry about perfection. Slightly imperfect materials often look more authentic than uniform store-bought items.
Pro tip: Start collecting materials in late July. You'll have variety and time to dry anything that needs it. Most grasses dry within 2-3 weeks if stored in a cool, dry place.
Assembly's where it gets fun. We're going to build in layers, starting with the structure and working toward the details. This layered approach gives your wreath depth and prevents gaps from showing.
Use a 12-14 inch straw or foam wreath form. We prefer straw — it's natural and takes floral picks beautifully. Soak dried wheat bundles and secure them around the base with floral wire or hot glue. Create an even layer about 2 inches thick.
Layer in dried grasses, pampas, and ornamental foliage. Angle pieces in different directions — this creates visual movement. Secure everything with picks or wire. Don't be afraid to overlap generously. Sparse wreaths look unfinished.
Now add your focal elements. Dried corn husks, wheat ears, seed pods, and dried flowers. These shouldn't be hidden — position them so they're visible from the front. Distribute colors evenly around the wreath rather than clustering them in one spot.
Add seasonal ornaments, small gourds, or berries if you'd like. These should accent, not dominate. Attach a sturdy ribbon or twine for hanging. Make sure the wreath weighs evenly — if it tilts to one side, add material to the opposite side.
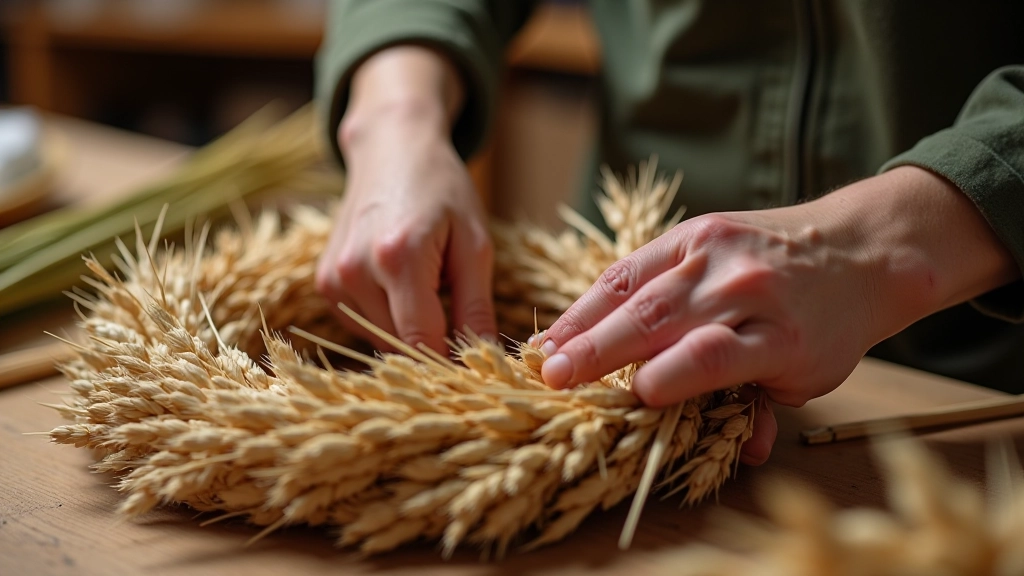
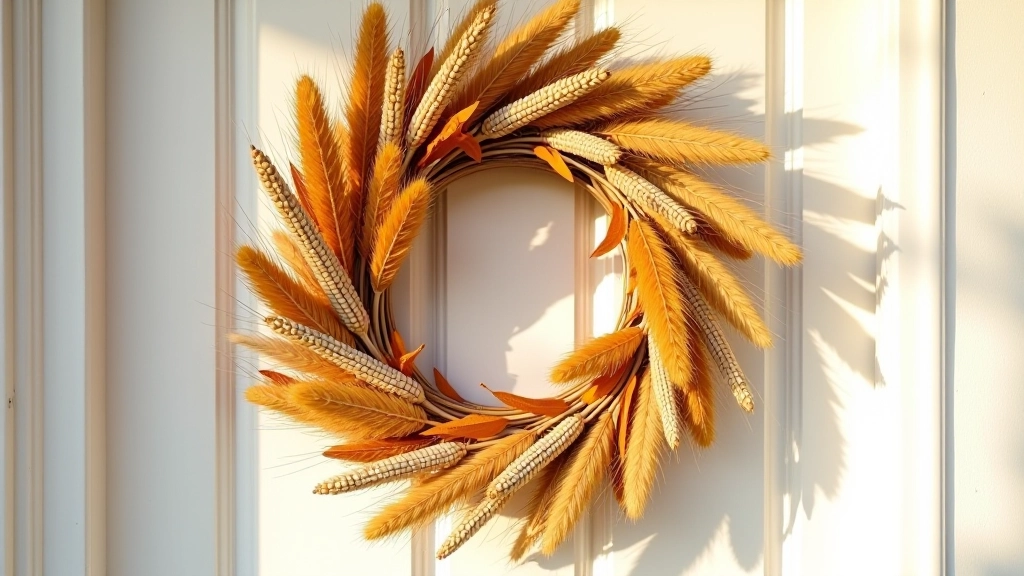
A well-made harvest wreath'll last 8-12 weeks easily. Some materials naturally shed a bit — that's normal. Place your wreath where it won't get direct rain or harsh wind. A covered porch is ideal. If your area's humid, position the wreath so air can circulate around it.
Moisture: Avoid overwatering if you've added fresh elements. Spray lightly every 2-3 weeks if the weather's particularly dry.
Wind: Secure your hanging hardware well. Use heavy-duty hooks rated for at least 5 pounds.
Sunlight: Direct sun fades colors faster. Partial shade keeps your wreath looking fresher longer.
After the season, don't throw your wreath away. Store it flat in a dry box. You can refresh it next year by swapping out faded materials and adding new elements. We've got wreaths we've been refreshing for three years now.

Editorial Team
Written by the galvvale editorial team, focused on practical wreath crafting guidance and Kutná Hora heritage techniques. We believe in clear instructions, authentic methods, and materials that work.
This guide is designed to share practical wreath-making techniques and material sourcing strategies. Individual results depend on your climate, available materials, and local growing conditions. Always check local regulations before harvesting from fields or public lands. When in doubt about material sourcing, ask permission from property owners. We've tested these methods extensively, and we're sharing what works for us — your experience may vary based on your specific environment.
You've got everything you need. Start by gathering materials in the next week or two. Don't overthink it — just collect things that feel autumn-y and natural. Spend an afternoon assembling. The process is meditative, and you'll end up with something genuinely beautiful on your door.
The best part? You'll know exactly how it was made. No mystery ingredients or complicated techniques. Just you, natural materials, and a few hours of creative time. That's what makes a harvest wreath special.
Discover other techniques and approaches to wreath making
Master the art of hand-painting Easter eggs using traditional Kutná Hora methods. Learn authentic patterns, natural dyes, and techniques passed down through generations.

Step-by-step instructions for assembling a beautiful Easter wreath. From selecting materials to final arrangement, we walk you through each phase of the process.
A complete resource guide to the materials and tools you'll need. Learn what's essential, what's optional, and where to source quality supplies locally and online.