

Building Your First Easter Wreath
Step-by-step instructions for assembling a beautiful Easter wreath. From selecting your base to arranging your hand-painted eggs and fresh elements into a stunning door decoration.
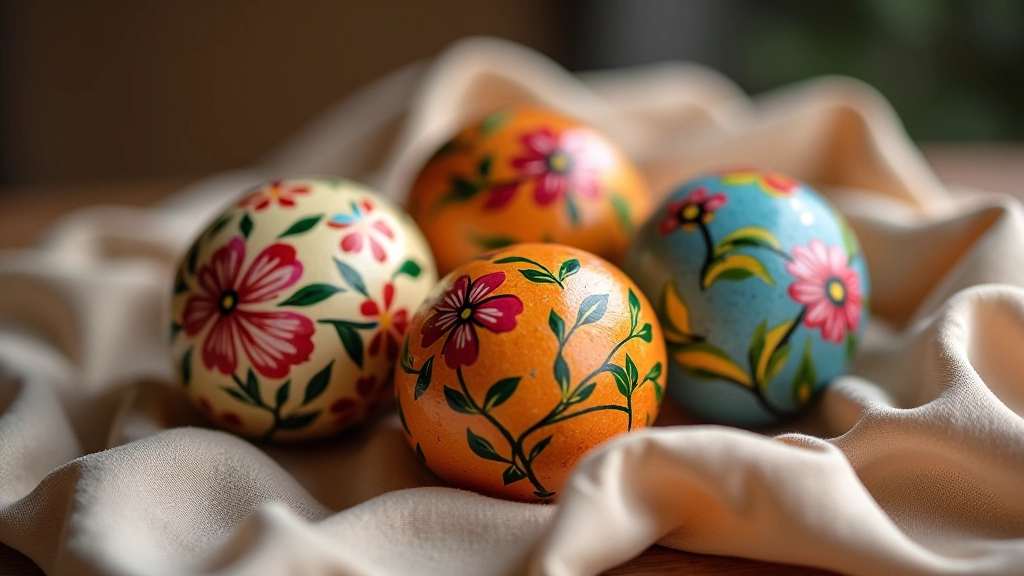
Read GuideMaster hand-painted Easter eggs using authentic Kutná Hora methods. Learn the essential techniques, tools, and finishes that bring these delicate designs to life.
Easter egg painting isn't just decoration — it's a craft with centuries of tradition behind it. In Kutná Hora, families have passed down these techniques for generations, creating intricate patterns that turn simple eggs into works of art.
The good news? You don't need years of experience to start. With the right tools, a bit of patience, and some foundational knowledge, you'll be creating beautiful hand-painted eggs within weeks. We'll walk you through everything from selecting your materials to applying that final protective coat.
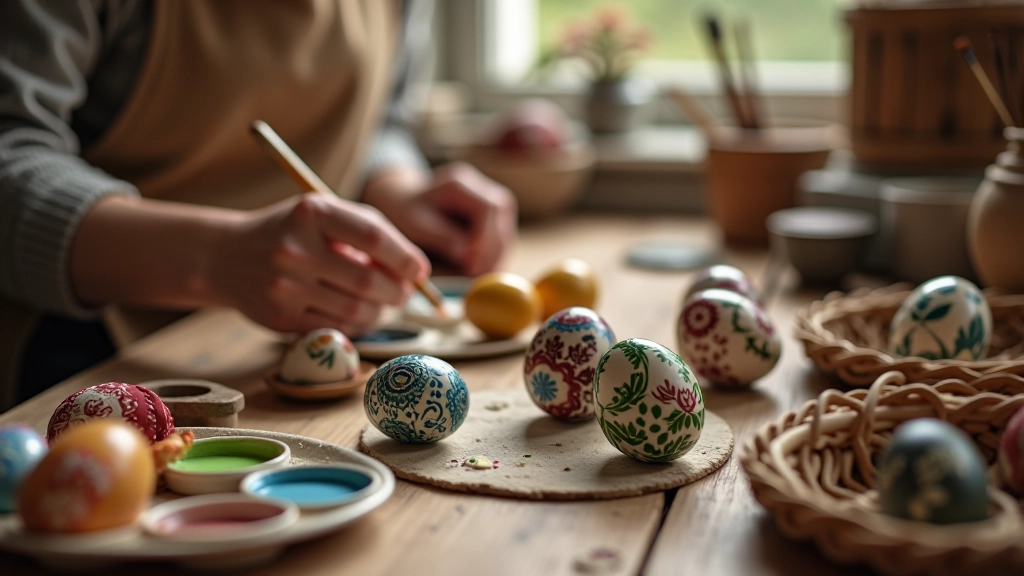
Here's what separates professionals from beginners: they've invested in decent tools. You don't need everything at once, but these items make a real difference.
Start with sizes 0, 1, and 3. Natural hair brushes work better for detail than synthetic ones, especially when you're laying down delicate lines. They hold more paint and give you better control.
Acrylic or watercolor both work, but acrylics dry faster and stick to eggshells better. You'll want reds, blues, yellows, greens, black, and white as your foundation. Mix from there.
A simple foam block with holes prevents rolling and gives you both hands free for painting. DIY versions work fine — just need something stable.
Keep water clean and separate from your mixing palette. Cloudy water muddies your colors. A ceramic palette with wells lets you keep colors organized without them mixing.
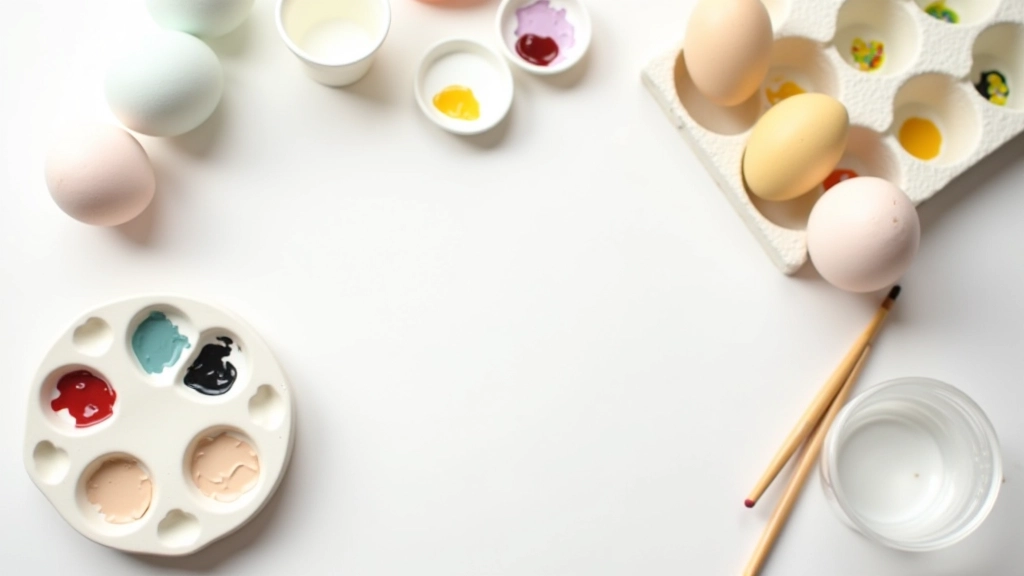
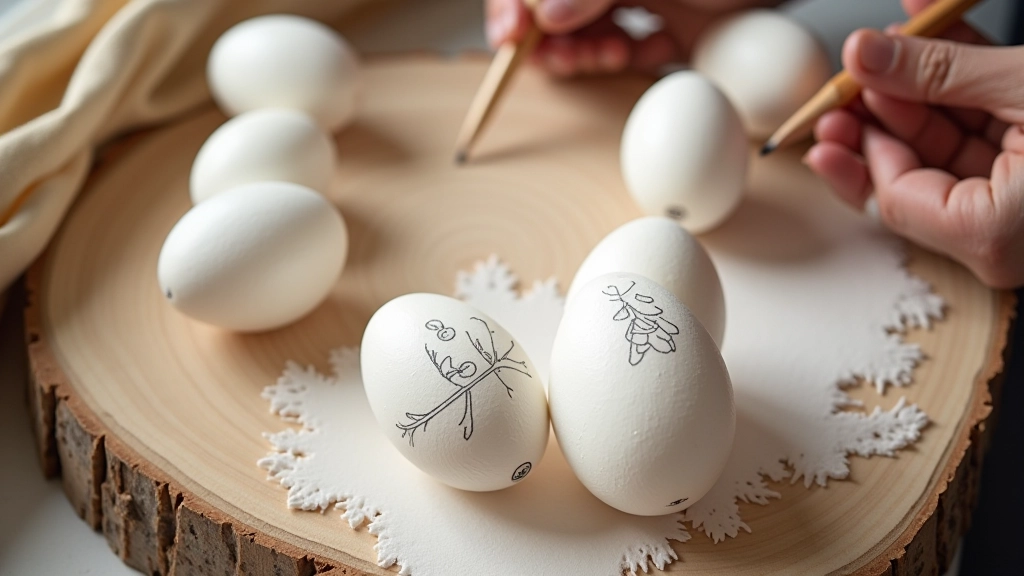
Don't skip this step. It takes maybe 10 minutes but saves you hours of frustration later.
Gently wipe with a damp cloth to remove any dust. Let them dry completely — wet eggs repel paint. If they're shiny, a light sanding with fine grit (220+) helps paint adhere better.
Use a light pencil to outline your pattern. This is your map. Traditional patterns often feature geometric shapes, flowers, or crosses arranged in bands around the egg. Start simple — straight lines and circles.
Good lighting matters. Position yourself near a window or lamp so you can see fine details. Have water, paints, and brushes within arm's reach. Paper towels nearby for quick brush cleaning.
These are the techniques you'll use for most traditional patterns. Master these and you've got the foundation.
Use your smallest brush (size 0) with paint thinned slightly with water. You're aiming for smooth, controlled lines. Don't rush. Let your hand move naturally — that's where the character comes from. Traditional patterns use lots of borders, dividing lines, and small details.
Fill in larger areas with solid colors using your medium brush (size 1 or 3). Let the paint dry between colors to avoid muddiness. You'll usually work light colors first, then layer darker ones on top. This prevents dark paint showing through light areas.
Dab paint with your brush tip to create small dots and texture. It's meditative, fills space nicely, and looks authentic. Traditional eggs often feature patterns of tiny dots forming larger shapes — flowers, borders, decorative elements.
Once the base layer dries (acrylics dry in 10-15 minutes), add details on top. This creates depth. You can also slightly blend where two colors meet by adding a tiny amount of one color into the edge of another while wet — but don't overwork it.
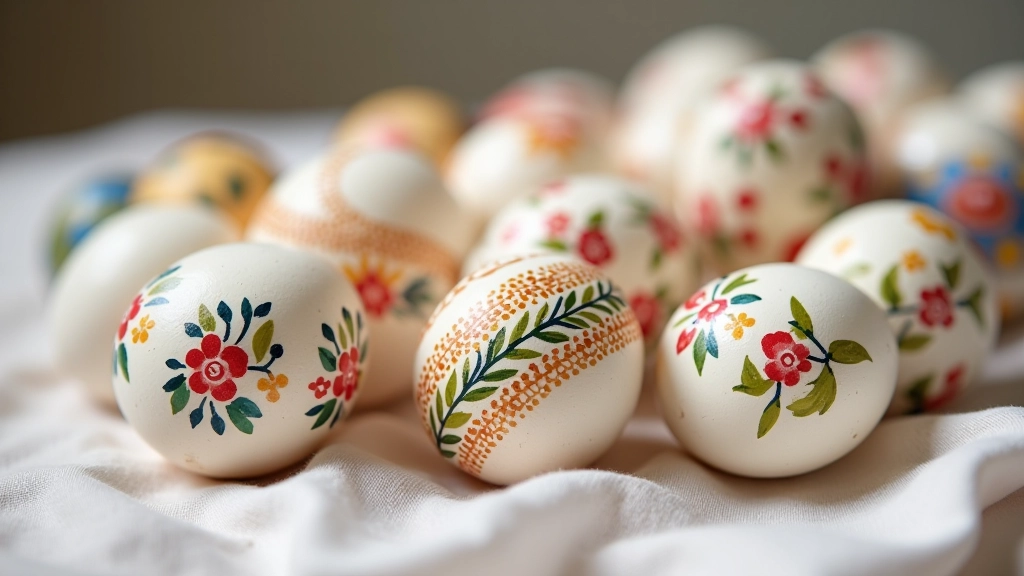
A painted egg is fragile. You'll want to protect it so your work lasts beyond Easter weekend.
Most artists use a clear matte or satin varnish. Spray it in light coats from 12 inches away — several thin coats beat one thick coat. Thick varnish can obscure fine details. Let it dry completely between coats (follow the can's instructions, usually 2-3 hours for acrylic-based varnish).
If you're using real eggs and want them to last years, consider replacing the insides. After painting, carefully drill a small hole at each end, blow out the contents, rinse gently with water, and let dry completely before varnishing. This prevents the egg from rotting.
Store finished eggs in a cool, dry place. Direct sunlight fades colors over time. A display box with tissue padding protects them from dust and damage. Handled carefully, a well-finished painted egg lasts indefinitely.
This guide provides educational information about traditional Easter egg painting techniques. Results vary based on individual skill, materials used, and practice. If you're using real eggs that will be handled frequently, ensure all materials are non-toxic and food-safe if there's any possibility of contact with food. For decorative purposes using plastic eggs or properly sealed real eggs, standard craft paints and varnishes work well.
Expand your skills with these complementary guides
Step-by-step instructions for assembling a beautiful Easter wreath. From selecting your base to arranging your hand-painted eggs and fresh elements into a stunning door decoration.
Read Guide
Create a stunning autumn wreath using natural materials like dried grains, leaves, berries, and branches. Perfect for extending your wreath-making skills into the fall season.
Read Guide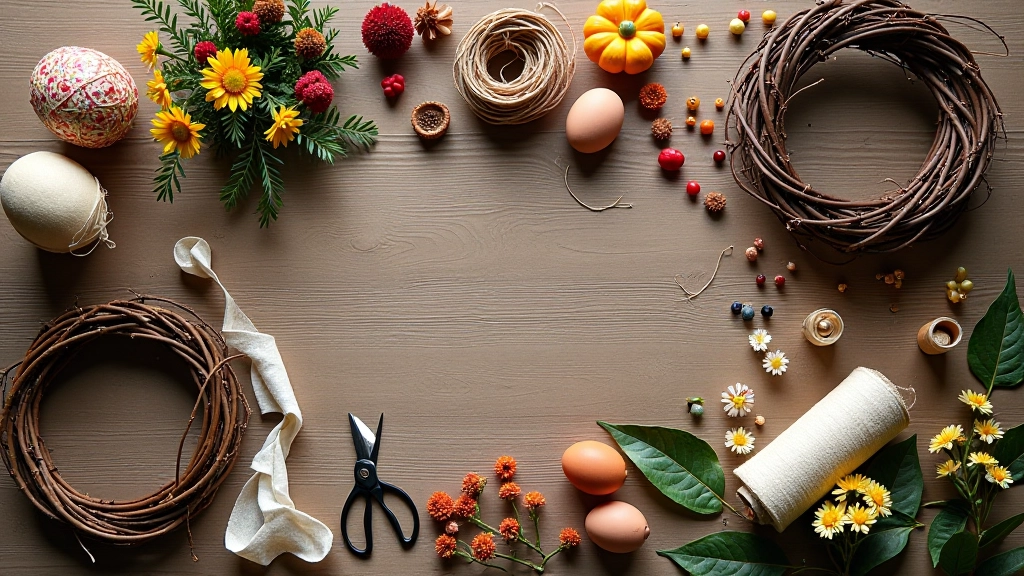
A complete resource guide to the materials and tools you'll need. Learn what's essential versus nice-to-have, plus tips for sourcing quality supplies locally.
Read Guide
About the Author
Editorial Team
Written by the galvvale editorial team, focused on practical wreath crafting guidance and Kutná Hora heritage techniques. We're passionate about sharing traditional skills in a way that makes sense for modern crafters.